Filling stitches · Easy
Fishbone stitch
Fishbone stitch fills a leaf shape with slanting stitches worked from each side in turn. Every stitch crosses just over the center line, so the stitches overlap down the middle and form a neat spine along the center of the leaf.
How to work it
Come up at the tip

Draw a line down the middle of the leaf if the pattern does not have one. Fishbone stitch is worked from the tip toward the base. Bring the needle up at A, right at the tip.
Make a short stitch down the center

Go down at B, on the center line a short way below the tip. This is one small straight stitch.
Come up on the edge beside the tip

Bring the needle up at C, on the outline right next to the top of the first stitch. Either side can come first. Here it is the left.
Go down just across the center line

Push the needle down at D, a little below B and just over the center line. The stitch slants down from the edge and covers the end of the first stitch.
Repeat from the other side

Come up at E, on the outline on the other side of the tip. Go down at F, just across the center line and slightly below D, so this stitch crosses over the last one.
Alternate sides down to the base

Keep working left, then right. Each stitch starts on the outline just below the one before it on that side and ends just across the center line. The crossings build the spine.
At a glance
- Used for
- leaves; feathers; flower petals
- Thread
- Fishbone stitch works with any thread. A heavier thread, or more strands of floss, fills the leaf quickly. A single strand takes longer and gives a smoother surface.
- Needle
- An embroidery (crewel) needle with a sharp point. A size 7 suits about three strands of floss.
Tips
- End each stitch just across the center line, not on it. If the stitches met exactly on the line, the fabric would tend to show through there.
- Place the stitches close enough together on the outline that no fabric shows between them.
- Keep the slant the same all the way down. Come up very close to the last stitch on the outline, but move a little farther down each time at the center, so the stitches stay parallel.
- On a curved leaf, draw the center line as a curve and let the stitches follow it.
- A heavier thread fills the leaf quickly. A single strand takes longer and gives a smoother surface, close to satin stitch.
When it goes wrong
- Fabric shows between the stitches along the edge
- Bring each stitch up closer to the last one on the outline, so the stitches touch without overlapping.
- The spine wanders from side to side
- Draw the center line before you start, and end every stitch just to the far side of it.
- The stitches lie almost flat across the leaf
- The center ends are not moving down fast enough. Take each stitch down a little lower on the center line to bring back the slant.
- The tip looks blunt
- Start with the straight stitch from the very tip, and bring the first pair of slanting stitches up right beside the top of it.
- The edge of the leaf looks jagged
- Come up exactly on the outline every time.
Left-handed
The stitch is symmetrical, so nothing changes. Start with whichever side feels natural.
Variations
- Open fishbone stitch. The stitches are spaced apart so the fabric shows between them. Because it is not dense, the shape can be given an outline in stem stitch or chain stitch.
- Raised fishbone stitch. Each stitch crosses the center and runs to the far edge of the leaf, so the stitches pile up over one another and pad the leaf as they cover it.
- Leaf stitch. A light, open leaf filling worked from the base up, with one slanting stitch to each side in turn.
- Fly stitch leaf. A line of V-shaped fly stitches worked close together, so that the small holding stitches touch, is often used for leaves and feathers.
Patterns that use it
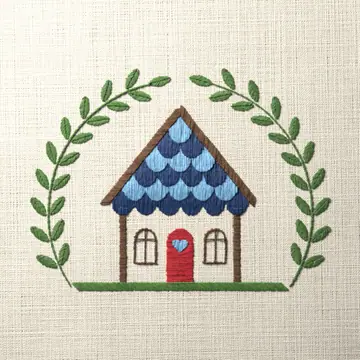
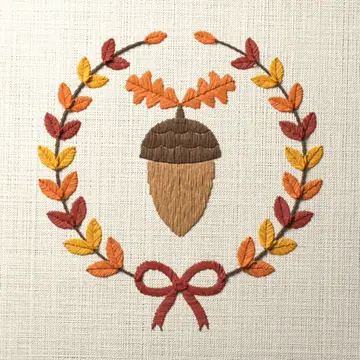
Questions
- What is fishbone stitch used for?
- Mostly for leaves. It makes a smooth filling with a spine down the center. It also works for feathers and petals.
- Do you start fishbone stitch at the tip or the base?
- At the tip. Make one short straight stitch from the tip down the center line, then work slanting stitches from each side in turn until you reach the base.
- What is the difference between fishbone stitch and satin stitch for leaves?
- Satin stitch lays every stitch in one direction and leaves a smooth, flat leaf. Fishbone stitch slants in from both sides and crosses in the middle, so the leaf has a rib down the center.
- How many strands should I use for fishbone stitch?
- There is no set number. More strands, or a heavier thread, fill the leaf faster. A single strand takes longer and gives a smoother surface.