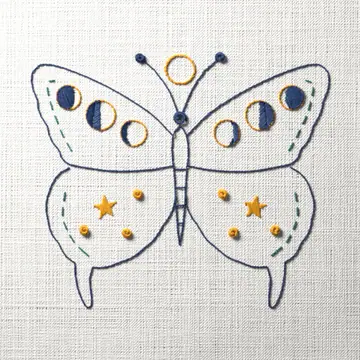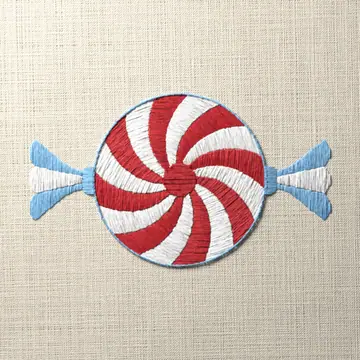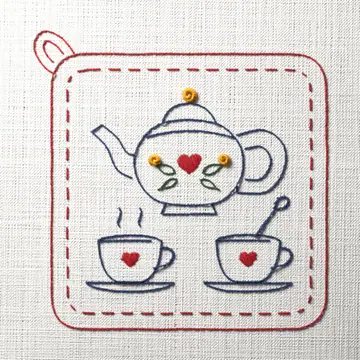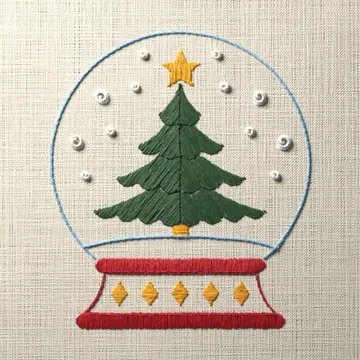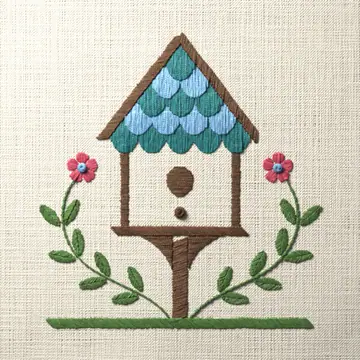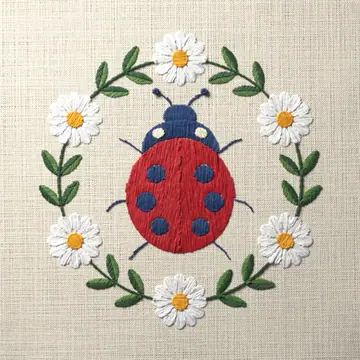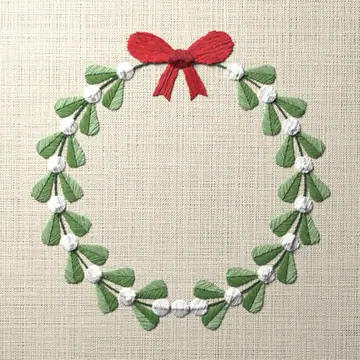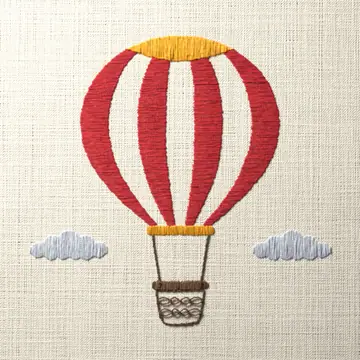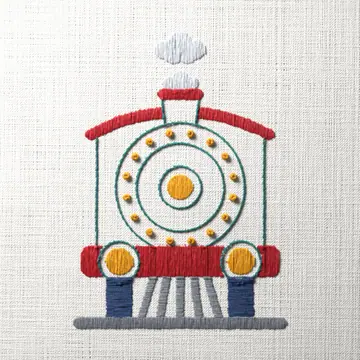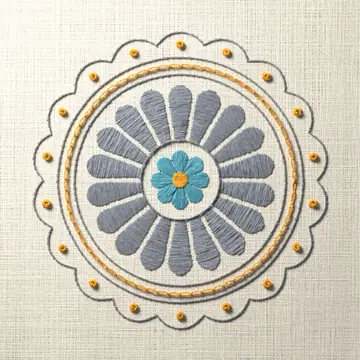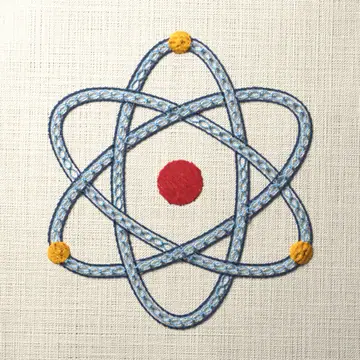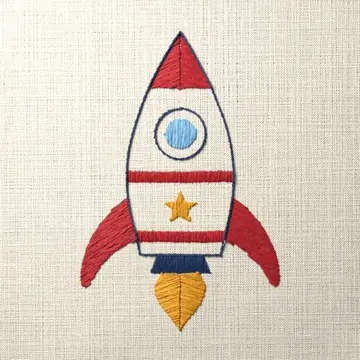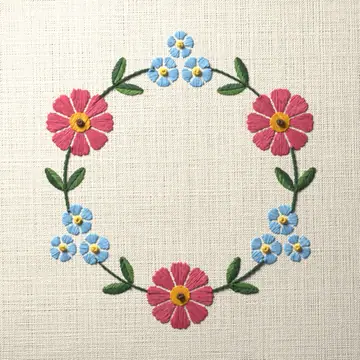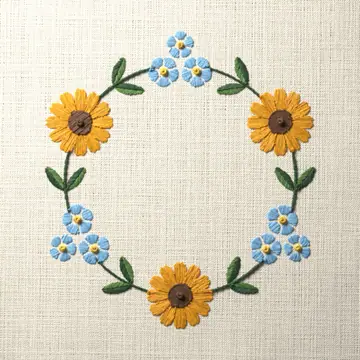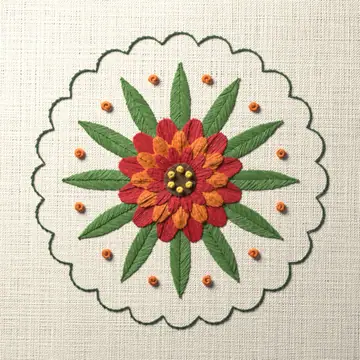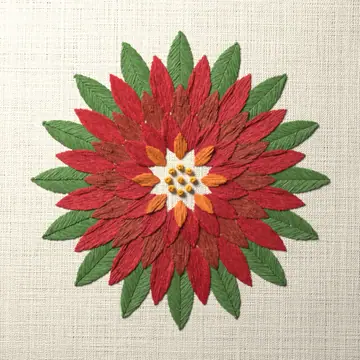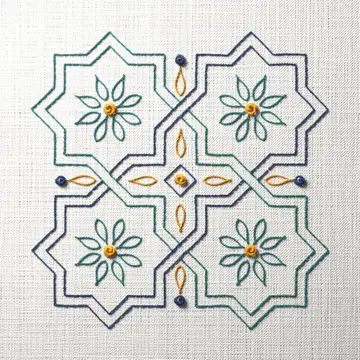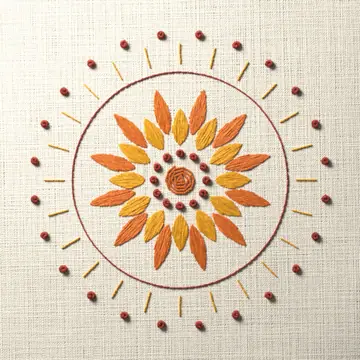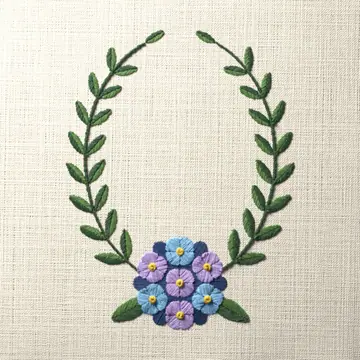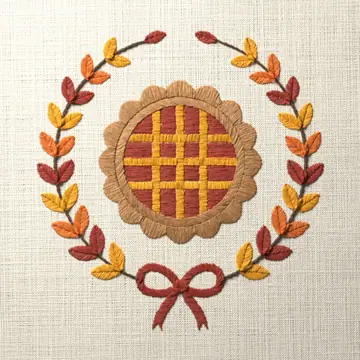
Beginner 3 colors
Free hand embroidery patterns to print, sized to your hoop, with a DMC thread list. Every stitch step by step, and plain guides to hoops, needles and floss.
Free patterns to print. Choose a subject.
Shown at the top of the page: Flowers, Hearts, Sayings and quotes, Wreaths, Stars, Family.
How to start hand embroidery, in order.
Ways to get a hand embroidery pattern onto fabric, from window tracing and marking pens to carbon paper, stick-and-stitch, tissue paper and prick and pounce.
Ten basic hand embroidery stitches and how to work each one, with a chart of which stitch to use for outlines, lettering, filling, flowers and leaves.
How many strands of floss to use for outlines, lettering, satin stitch and knots, how to separate six-strand floss cleanly, and which needle fits.
How to finish the back of an embroidery hoop for display: gather it with a running stitch, add a felt backing or glue it, hang it, or mount it in a frame.

Used for dashed outlines.

Used for outlines; lettering.

Used for fine outlines; lettering and delicate curves.

Used for flower stems and vines; curved outlines.

Used for petals and leaves; small solid shapes.

Used for flower centers; single accent dots.

Used for outlines; stems and curved lines.

Used for flower petals; small leaves.

Used for finishing the edges of felt and blankets.

Used for filling shapes too large for satin stitch.
Two or three of the six strands is the usual place to start. One strand gives a very fine line for delicate detail. Two give a fine line that is still easy to see. Three give a bold line that can still hold detail. Four to six give a heavy, textured line. If your pattern gives a strand count, follow it.