Filling stitches · Easy
Satin stitch
Satin stitch fills a shape with straight stitches laid side by side, so close together that no fabric shows between them. The result is a smooth, solid area, like satin.
How to work it
Come up in the middle of one edge

Start in the middle of the shape, not at one end. The first stitch sets the angle for all the others. Bring the needle up at A, right on the outline.
Go down straight across

Take the needle down at B, on the outline straight across the shape. Pull until the stitch lies flat without denting the fabric.
Come up right next to A

Under the fabric, go back to the side you started on and bring the needle up at C, right next to A. The thread crosses the back of the shape just as it does the front.
Lay the next stitch beside the first

Go down at D, right next to B. The new stitch should touch the first one, with no gap and no overlap.
Fill one half, then the other

Keep adding stitches side by side until you reach the end of the shape. Then go back to the middle and fill the other half the same way.
The finished shape

Every stitch starts and ends on the outline, so the edge is crisp and the fabric is covered.
At a glance
- Also called
- damask stitch
- Used for
- petals and leaves; small solid shapes; monograms and lettering; dots
- Thread
- One strand of six-strand floss gives a smoother surface than two or more in the needle at once. Soft threads that are not meant to be divided, such as floche or coton a broder, also work well. Pearl cotton has a tighter twist and looks bumpier.
- Needle
- An embroidery (crewel) needle with a sharp point. A size 9 or 10 suits one strand of floss and a size 7 suits about three.
Tips
- Outline the shape first in split stitch, then bring your satin stitches up and down just outside that outline. It gives a crisp, neat edge.
- Keep stitches to about 3/8 to 1/2 inch (10 to 12 mm) at most. Longer stitches tend to work loose. Divide a large shape into sections, or switch to long and short stitch.
- A single strand gives a smoother surface than two or more in the needle at once. If you do use more than one strand, a laying tool helps keep the stitches smooth.
- Before you take the first stitch down, hold the thread across the shape to set its angle. On a curved shape, think about which slant will let the stitches turn gradually.
- Keep the fabric taut in a hoop.
When it goes wrong
- Fabric shows between the stitches
- Place each stitch closer to the last so they touch.
- The edge looks jagged
- Make sure every stitch ends exactly on the line. Outlining the shape in split stitch first and stitching just over the outline helps keep the edge smooth.
- The surface looks bumpy or uneven
- Use a single strand, or a soft thread that is not meant to be divided. With more than one strand in the needle, use a laying tool to keep the stitches smooth.
- The fabric puckers
- The stitches are pulled too tight or the fabric is slack. Tighten the hoop and pull each stitch only until it lies flat.
- The stitch angle drifts as the shape fills
- Start in the middle, set the angle with the first stitch, and work outward toward each end in turn.
Left-handed
Nothing about the stitch changes. Start in the middle and fill toward whichever end is comfortable first.
Variations
- Padded satin stitch. A layer of padding stitches is worked inside the shape first, then satin stitch goes over the top, so the shape stands up a little from the fabric.
- Slanted satin stitch. The stitches lie at an angle across the shape instead of straight across. It is typical for monograms, leaves and petals.
- Long and short stitch. Rows of straight stitches that work into one another fill shapes that are too large for satin stitch and allow shading from one color to the next.
Patterns that use it
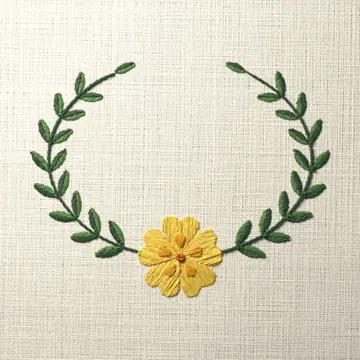
Intermediate 5 colors
Primrose oval frame
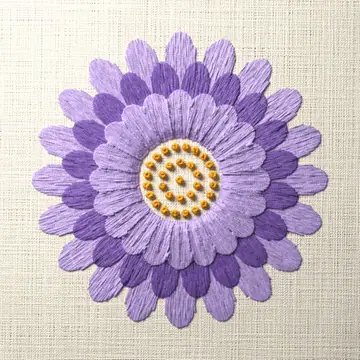
Intermediate 3 colors
Aster mandala
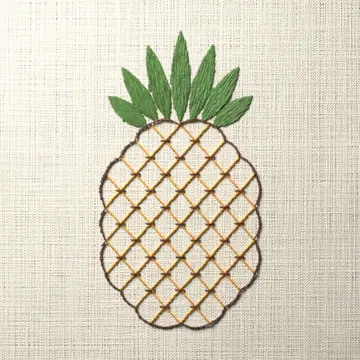
Intermediate 3 colors
Trellis stitch pineapple
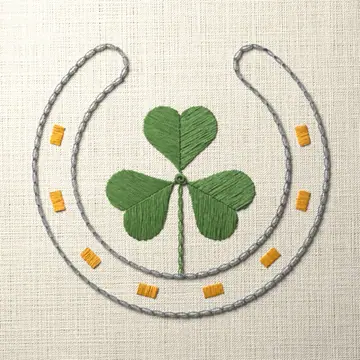
Intermediate 3 colors
Horseshoe with a shamrock
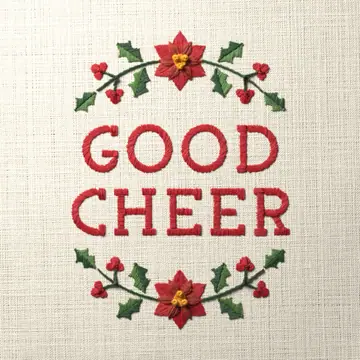
Easy 5 colors
Good cheer
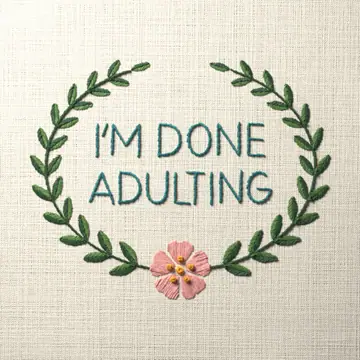
Easy 5 colors
I’m done adulting
1,270 patterns use this stitch: all hand embroidery patterns
Questions
- How do you keep satin stitch neat?
- Outline the shape in split stitch first, start in the middle, keep the stitches short and close together, and use a single strand if you can.
- How wide can satin stitch be?
- About 3/8 to 1/2 inch (10 to 12 mm) is a good rule of thumb for one strand of floss. Padded satin stitch can go wider, up to about an inch (2.5 cm), because the padding supports the stitches. For wider areas, divide the shape or use long and short stitch.
- How many strands of floss should I use for satin stitch?
- One strand gives the smoothest result. With two or more strands in the needle, a laying tool helps keep the stitches smooth.
- Why does satin stitch use so much thread?
- The thread crosses the full width of the shape on the back as well as the front, so each stitch uses about twice its visible length.