Yarn ball and knitting needles hand embroidery pattern
Easy · 3 colors · 2 kinds of stitch
Download free PDFPDF, US Letter · 11 KB
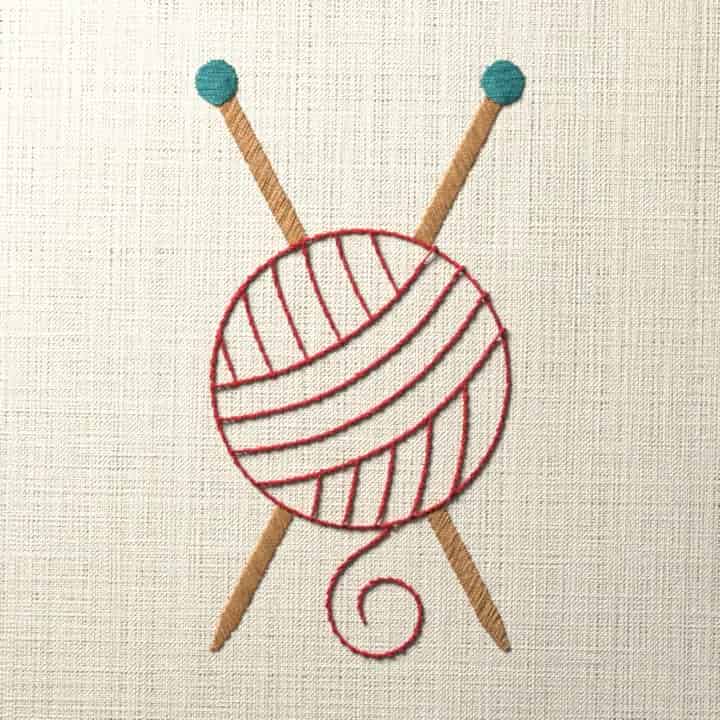
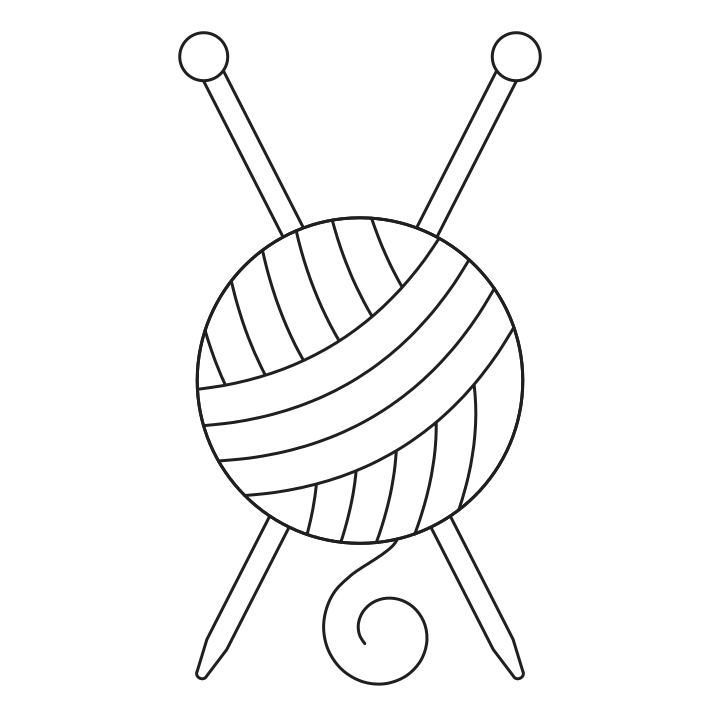
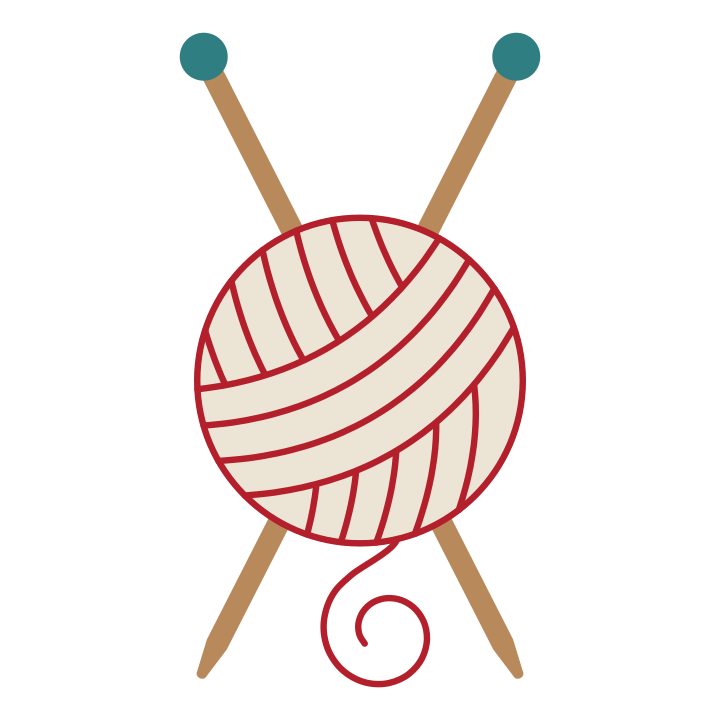
A ball of yarn sits in front of two crossed knitting needles, with its loose end hanging below. The outline of the ball of yarn and the windings inside it are red stem stitch, and the loose end drops from the foot of the ball in one red stem stitch curve that ends in a curl. The tan needles cross behind the ball with their points down, and each has a round teal knob at the top. The needles and the knobs of the needles are satin stitch.
Size and details
Easy. In a hoop of 6 inches or less: stem stitch, with some short satin stitches; in a larger hoop the widest satin stitches are long.
3 colors of floss and 2 kinds of stitch:
| Hoop | Inches | Centimeters | Satin stitch up to |
|---|---|---|---|
| 3 in (8 cm) | 0.9 × 1.7 in | 2.3 × 4.3 cm | 1/8 in (3 mm) |
| 4 in (10 cm) | 1.4 × 2.5 in | 3.6 × 6.4 cm | 3/16 in (5 mm) |
| 5 in (13 cm) | 1.9 × 3.4 in | 4.8 × 8.6 cm | 1/4 in (6 mm) |
| 6 in (15 cm) | 2.3 × 4.2 in | 5.8 × 10.7 cm | 5/16 in (8 mm) |
| 8 in (20 cm) | 3.3 × 5.9 in | 8.4 × 15 cm | 7/16 in (11 mm) |
The pattern is drawn inside a circle about half an inch (1.3 cm) smaller all around than the hoop.
What you need
- DMC 3828 Hazelnut BrownNeedles
- DMC 3809 Very Dark TurquoiseKnobs of the needles
- DMC 304 Medium RedLoose end, outline of the ball of yarn and windings
The floss is six-strand cotton; the stitch guide says how many strands to use. You also need a hoop, an embroidery needle (a size 7 to 9 suits two or three strands) and plain cotton or linen fabric. To frame the piece in its hoop, cut a square 3 inches (8 cm) wider than the hoop: a 9 inch (23 cm) square for a 6 inch hoop.
Stitch guide
- Satin stitch 2 strandsNeedles, knobs of the needles
- Stem stitch 2 or 3 strandsLoose end, outline of the ball of yarn, windings
Getting it onto your fabric
The PDF holds the pattern twice at actual size: once as drawn, and once mirrored for an iron-on transfer pen. Print it at 100% with scaling off and check the one-inch square (25.4 mm) with a ruler before you trace. How to transfer a pattern explains tracing, carbon paper and the other ways. The files are under Downloads.
Downloads
- Download free PDF PDF, US Letter, 3 pages, for a 6 inch (15 cm) hoop
- Download free PDF, A4 PDF, A4, 3 pages, for a 6 inch (15 cm) hoop
For your own stitching, gifts and handmade pieces you sell. Do not resell or share this PDF.
New to hand embroidery? Starting hand embroidery, step by step