Outline stitches · Beginner
Stem stitch
Stem stitch is a line of overlapping stitches, each one starting halfway back along the stitch before it. The overlap gives a line that looks like a fine twisted rope and bends easily around curves. The thread is held below the line throughout. Held above the line instead, the same movement makes outline stitch, whose rope twists the other way.
How to work it
Come up at the start of the line

Right-handed stitchers work stem stitch from left to right. Bring the needle up at A, at the left end of the line.
Go down one stitch along, leave a loop

Push the needle down at B, one stitch length along the line. Do not pull the thread tight yet. Leave a small loop on the surface and hold it below the line, toward you.
Come up halfway back

Bring the needle up at C, on the line halfway between A and B, with the loop still below the needle. Then pull the thread through until the first stitch lies flat.
Go down half a stitch past the last

Push the needle down at D, a full stitch length from C. That is half a stitch past B. Leave a loop below the line again.
Come up at the end of the last stitch

Bring the needle up at B, in the hole where the first stitch ended, with the loop below the needle. Pull the thread through.
Repeat along the line

Keep going: down a full stitch ahead, then up in the hole where the last finished stitch ended. Keeping the thread on the same side every time is what makes the rope twist.
At a glance
- Also called
- crewel stitch, stalk stitch, South Kensington stitch
- Used for
- flower stems and vines; curved outlines; cursive lettering; leaf veins; filling a shape with rows worked side by side
- Thread
- Two or three strands of six-strand floss give a clear line. One strand makes a very fine line. All six strands make a bold, heavy one.
- Needle
- An embroidery (crewel) needle. A size 8 suits two strands and a size 9 or 10 suits one. Use a larger needle, which has a lower number, for all six strands.
Tips
- Keep the working thread below the line for every stitch. If it lands above the line even once, that stitch becomes an outline stitch and looks different from the rest.
- Keep the stitches equal in length, and shorten them on tight curves so the line stays smooth.
- Turn the hoop as you go, so you always stitch from left to right with the thread below the line.
- For a sharp corner, end the line at the corner with the needle down, then start a new line in the new direction.
- Once the movement feels familiar, you can go down at B and come up at C in one scooping motion, with the thread held below the needle.
When it goes wrong
- One stitch sticks out from the rope
- The thread was above the needle for that stitch. Unpick back to it and keep the thread below the line every time.
- The line looks like separate dashes, not a rope
- The needle is coming up too far along. Come up in the hole where the last finished stitch ended, so each stitch overlaps half of the one before it.
- Curves look angular
- Shorten the stitches on the curve. Very small stitches take a tight bend smoothly.
- The needle splits the previous stitch
- Come up just beside the stitch, on the line, not through the thread. Pushing the loop out of the way with your thumb helps you see the hole.
Left-handed
Work from right to left and keep the thread above the line. Stitching in that direction, thread above the line is what gives the stem stitch twist. The outline stitch diagrams, mirrored, show the movement.
Variations
- Outline stitch. The same stitch with the thread held above the line. The rope twists the opposite way.
- Whipped stem stitch. A second thread is passed under each stitch of the finished line, always in the same direction and without piercing the fabric, for a rope-like line.
- Stem stitch filling. Rows of stem stitch worked close together, following the outline of a shape until it is filled.
- Raised stem stitch. Stem stitch worked over a ladder of straight stitches, which makes a solid, slightly raised band.
Patterns that use it
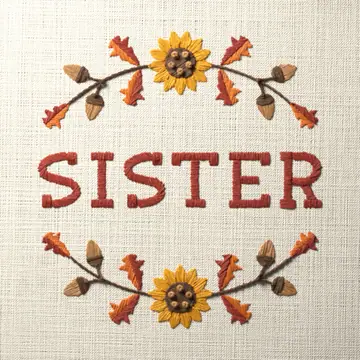
Intermediate 5 colors
Sister in oak leaves
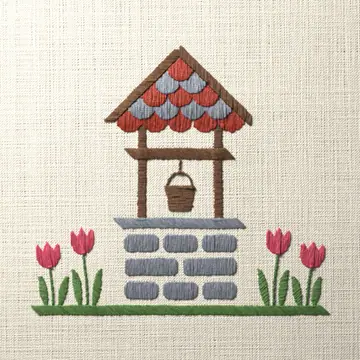
Intermediate 5 colors
Wishing well with tulips
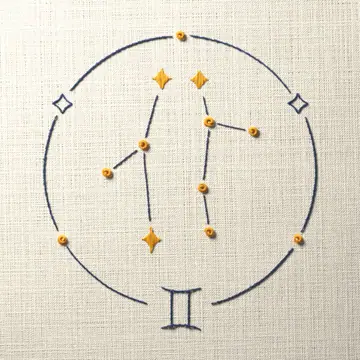
Easy 2 colors
Gemini zodiac sign

Easy 6 colors
Envelope with crossed pens and laurel
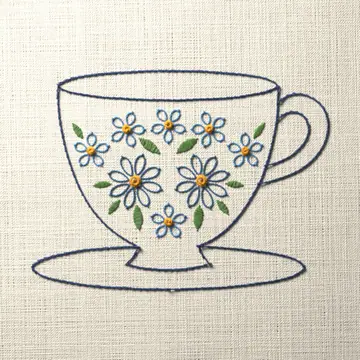
Easy 5 colors
Flower filled teacup
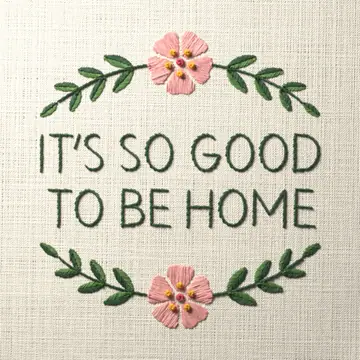
Easy 5 colors
It’s so good to be home
1,235 patterns use this stitch: all hand embroidery patterns
Questions
- How do you do stem stitch in embroidery?
- Come up at the start of the line, go down one stitch length along, and come up again halfway back with the thread held below the needle. Repeat, coming up each time in the hole where the last finished stitch ended.
- What is the difference between stem stitch and outline stitch?
- Only the side the thread is held on. In stem stitch the thread stays below the needle. In outline stitch it stays above. The two ropes twist in opposite directions.
- Is stem stitch good for letters?
- Yes. It follows curves smoothly, which suits cursive and script lettering. Use very small stitches on tight curves, and one or two strands for small letters.
- What is the difference between stem stitch and back stitch?
- Back stitches meet end to end. Stem stitches overlap by half, so the line is heavier, looks like a twisted rope and takes curves well.