Couching · Easy
Trellis stitch
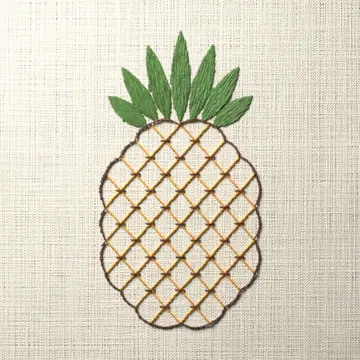
Trellis stitch fills a shape with a grid of long straight stitches, then holds every crossing down with a small stitch. It covers a large area quickly and leaves an open lattice pattern.
How to work it
Come up on the edge of the shape

Draw the shape. Bring the needle up at A, on the outline at one side of the shape.
Lay a long stitch across the shape

Take the needle down at B, on the outline straight across from A. Pull until the thread lies flat and straight, with no slack.
Lay the rest of the first set

Come up at C, one space along the same edge, and go down at D on the far edge. Keep going until evenly spaced parallel stitches cover the shape.
Lay the second set across the first

Now lay long stitches the other way, the same distance apart. They lie on top of the first set and cross it at right angles. Do not weave them.
Tie down a crossing

Bring the needle up at E, close beside a crossing, and take it down at F on the opposite side. This small slanting stitch pins both long threads to the fabric.
Tie every crossing

Work along the rows until every crossing has a small stitch over it, all slanting the same way. You can use a second color for these stitches.
At a glance
- Also called
- lattice stitch, trellis couching, square laid filling, Jacobean couching
- Used for
- filling large shapes quickly; leaves and backgrounds; flower centers; open fillings in crewel work
- Thread
- Three strands of six-strand floss is a good place to start for the grid. The tying stitches can be in the same thread or in a second color.
- Needle
- An embroidery (crewel) needle. A size 7 suits three strands of floss. For wool or other thick thread, a chenille needle has a longer eye and a sharp point.
Tips
- For even spacing, lay the first thread across the middle or the widest part of the shape and work out to each side.
- Come up on the same edge you just went down on, one space along, so that only a short stitch crosses the back.
- Outline the shape afterward with a line stitch to hide the drawn outline.
When it goes wrong
- The lines are not parallel
- Lay the first thread across the middle of the shape and work out to each side, keeping each new thread parallel to the last and evenly spaced.
- The long threads sag or shift
- Tie down every crossing. The small stitches are what hold the grid in place.
- The edge of the shape looks ragged
- End every long stitch exactly on the outline, then cover the outline with a line stitch.
Left-handed
Nothing about the stitch changes. Lay the threads and tie the crossings in whichever direction is comfortable.
Variations
- Diagonal trellis. Both sets of long stitches are laid on the slant, so the squares of the grid sit on their points.
- Cross bar filling trellis. Each crossing is held with a small cross stitch instead of one slanting stitch. Some stitchers use a small upright stitch.
- Cross bar with link trellis. A straight stitch is worked over each crossing, and a detached chain stitch is worked in some of the squares.
- Battlement couching. Several grids are laid one over another, each shifted a little to one side, and only the top grid is tied down.
Patterns that use it
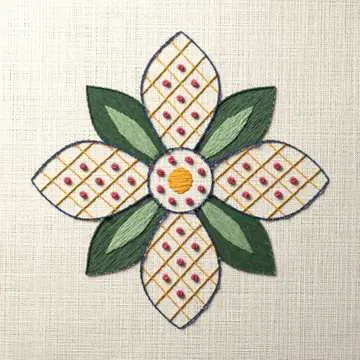
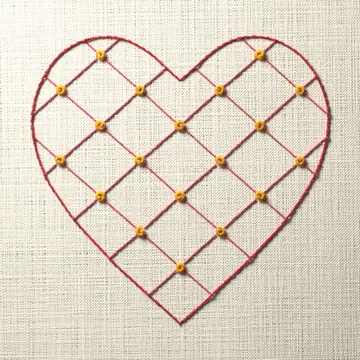

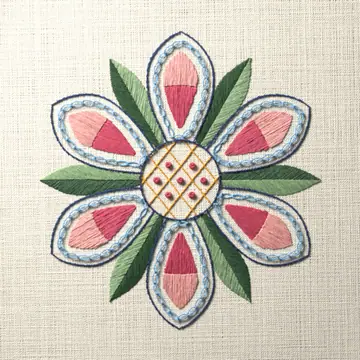
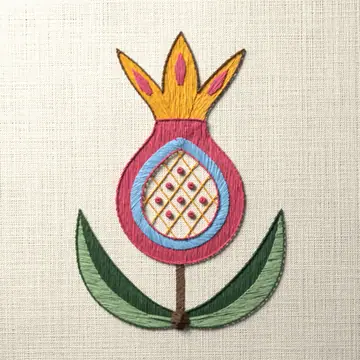
Questions
- Is trellis stitch the same as lattice stitch?
- Yes. Trellis, lattice stitch, trellis couching and square laid filling are all names used for a grid of long laid stitches tied down where they cross. An unrelated stitch is also called trellis stitch: a knotted needle lace filling used in Elizabethan embroidery.
- What is trellis stitch used for?
- It fills large areas quickly, such as leaves, backgrounds and flower centers. It dates from Jacobean crewel work, where it was used to fill large parts of a design.
- Do I have to tie down every crossing?
- Yes. The long threads are only attached at their ends. The small stitch at each crossing is what secures the grid.